The Maxillofacial and Dental service was created in 1983, the result of an Inter-institutional Teaching Assistance Agreement between the University Hospital of San Vicente Fundación and the School of Dentistry of the University of Antioquia.
Teeth cleanings are usually feared. Between the occasional jaw discomfort, prodding, and weird noises, it is simple to understand the nervousness. However, the truth is: for many people, teeth cleaning are easy and pain-free. Understanding just what is going on during the process might help relieve your anxiety and let you enjoy the clean, minty fresh the minty results.
Step one: a physical examination
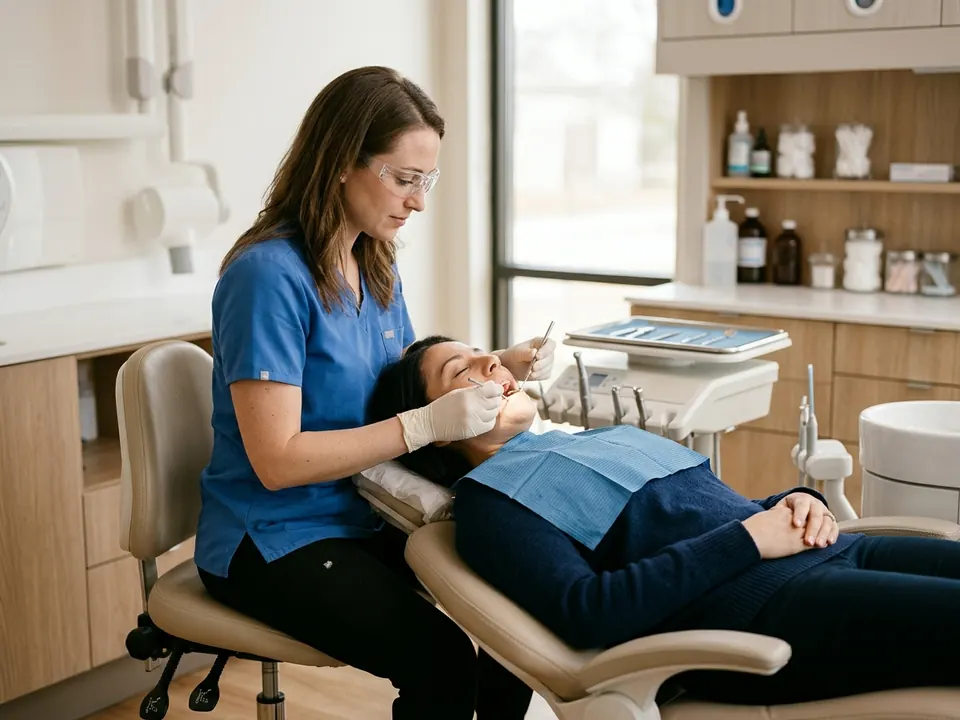
Most teeth cleanings are done by a dental hygienist. Before starting the actual cleaning procedure, they begin with a physical examination of your whole mouth.
A small mirror is used to check around your gums and teeth for any signs of gingivitis or other possible concerns.
If major issues are found, they may contact the dentist to ensure it is alright to continue.
Step two: removing tartar and plaque
With the small mirror to help them, the dental hygienist uses a scaler to remove tartar and plaque around the gum line, and also in between the teeth. The more tartar there is in your mouth, the more time is required to scrape a specific spot.
We brush and floss to prevent plaque from accumulating and hardening into tartar. The moment you have tartar; you may only get rid of it at the dentist’s office. Therefore, if this is your least preferred part of the teeth cleaning procedure, the lesson is to brush and floss regularly.
Step three: gritty toothpaste cleaning
After your teeth are totally tartar-free, the hygienist brushes using a high-powered electric brush to clean them. They make that popular grinding noise. Although it sounds frightening, it is a terrific way to get a thorough clean and get rid of any tartar left behind from the scaler.
Expert cleanings use toothpaste, which tastes and smells like normal toothpaste, although you may usually select between flavors. But it has a gritty consistency, which tenderly scrubs your teeth. This occasional polishing of the teeth is considered safe at the dentist’s office twice annually. However, do not be so harsh with your teeth at home, as you will wear down the enamel.
Step four: professional flossing
Whether you floss consistently at home or not, nothing surpasses a professional flossing session. Your dental hygienist may get deep in between your teeth and identify any possible trouble spots in which you may bleed at the gums.
This may appear worthless if you floss at home; however, having an expert floss your teeth as well gets rid of any leftover plaque or toothpaste from steps 2 and 3.
Step five: rinse
After that, you rinse out your mouth to remove any foreign matter. Your dental hygienist will often use a rinse which has liquid fluoride.
Step six: fluoride treatment
Fluoride disclaimer: The final step of the cleaning procedure is a fluoride treatment. This treatment is used as a protectant for your teeth to assist combat cavities for many months. You will be asked to choose the flavor you prefer best (bubblegum? mint? lemon?). They will then place the foamy gel (or occasionally it's in the form of a sticky paste) into a mouthpiece, which fits over your teeth. It is often left on your teeth for a minute.
Other possible steps: Expert teeth cleanings are scheduled twice annually, while X-rays are usually performed once a year. Still, based on what your dental hygienist or dentist observes in your mouth, they may perform other tests during your visit. For kids, a dentist might recommend molar sealants to aid the prevention of cavities in hard-to-brush spots.
About Teeth Cleaning
Key facts to plan your treatment: how long it takes, your hospital stay, anaesthesia, risks and recovery.
Recovery
Information coming soon. Request a consultation for personalized recovery guidance. Get Quote →
After care
Information coming soon. Request a consultation for personalized recovery guidance. Get Quote →
 Private Hospital
 ISOPrice on request